Use the Correct Camera Settings (Tip #10)
RAW capture is recommended.
RAW files are uncompressed data files that contain the entire image data. Because RAW data is unprocessed, it appears flat and lacks contrast. They look like film negatives!
Because RAW files capture more dynamic range in a scene, you have more flexibility and range when it comes to editing your photos. Because the file retains all visual information, you can make adjustments to the sharpness, brightness, contrast, shadows, and colours.
Use a variety of shutter speeds.
A fast shutter speed is a good place to start for wedding photography because it allows you to capture a lot of movement. Set the shutter speed to 1/200 or faster to begin.
Then, to truly freeze moments, use shutter priority mode. To capture active moments, set the shutter speed to 1/500th of a second. You can change the settings to record laughter, dancing, twirling, and other movements.
Experiment with Different Apertures
The aperture determines which parts of a photograph are in focus. If you want to convey the grandeur of a ballroom, make sure that everything in the scene is in focus. In that case, an aperture of f/8 or even f/16 would be appropriate.
When photographing people and details, you can use high apertures to create depth by blurring out the background. Try an aperture of f/2/8 or f/4 in that case.
Lower apertures, on the other hand, isolate the subject, making it the entire focus of an image. This is why, for bridal portraits, apertures ranging from f/1.8 to f/2.8 are recommended. This allows you to let in more light while reducing unwanted distractions.
Boost your ISO.
Another wedding photography tip for beginners: keep the ISO below 1000 whenever possible to avoid digital artifacting. However, depending on the situation, you can always increase the ISO, especially in low-light situations. Do you want to recreate the moody glow of candlelight? Consider increasing your ISO to 3200. You have an entire ISO range at your disposal, so take advantage of it and try new things!
To achieve beautiful, grain-free portrait photos at indoor weddings, keep the ISO between 400-800. If you go higher, you might get more digital noise (though, this depends on your camera, so try a few options).
“Tip #11: Arrive early and scout the area for the best light source.”
2A Photography
Arriving at the venue early is one of the best wedding photography tips for beginners. This gives you plenty of time not only to prepare your equipment, but also to scout for shooting locations and available lighting.
You won’t have to work under pressure to get all of the shots if you arrive 30-60 minutes early. You can also schedule time to speak with the coordinators and other vendors who will be working with you during the day.
When you arrive at the venue, one of the first things you should do is check the lighting that may be available during the day. There are four common light sources that can be optimised:
Light from the Sun
Use natural light as much as possible to give your subjects a gentle, warmer, and softer look. Most wedding venues and reception areas have plenty of natural light. Make a mental note of where the windows are.
The Golden Hour
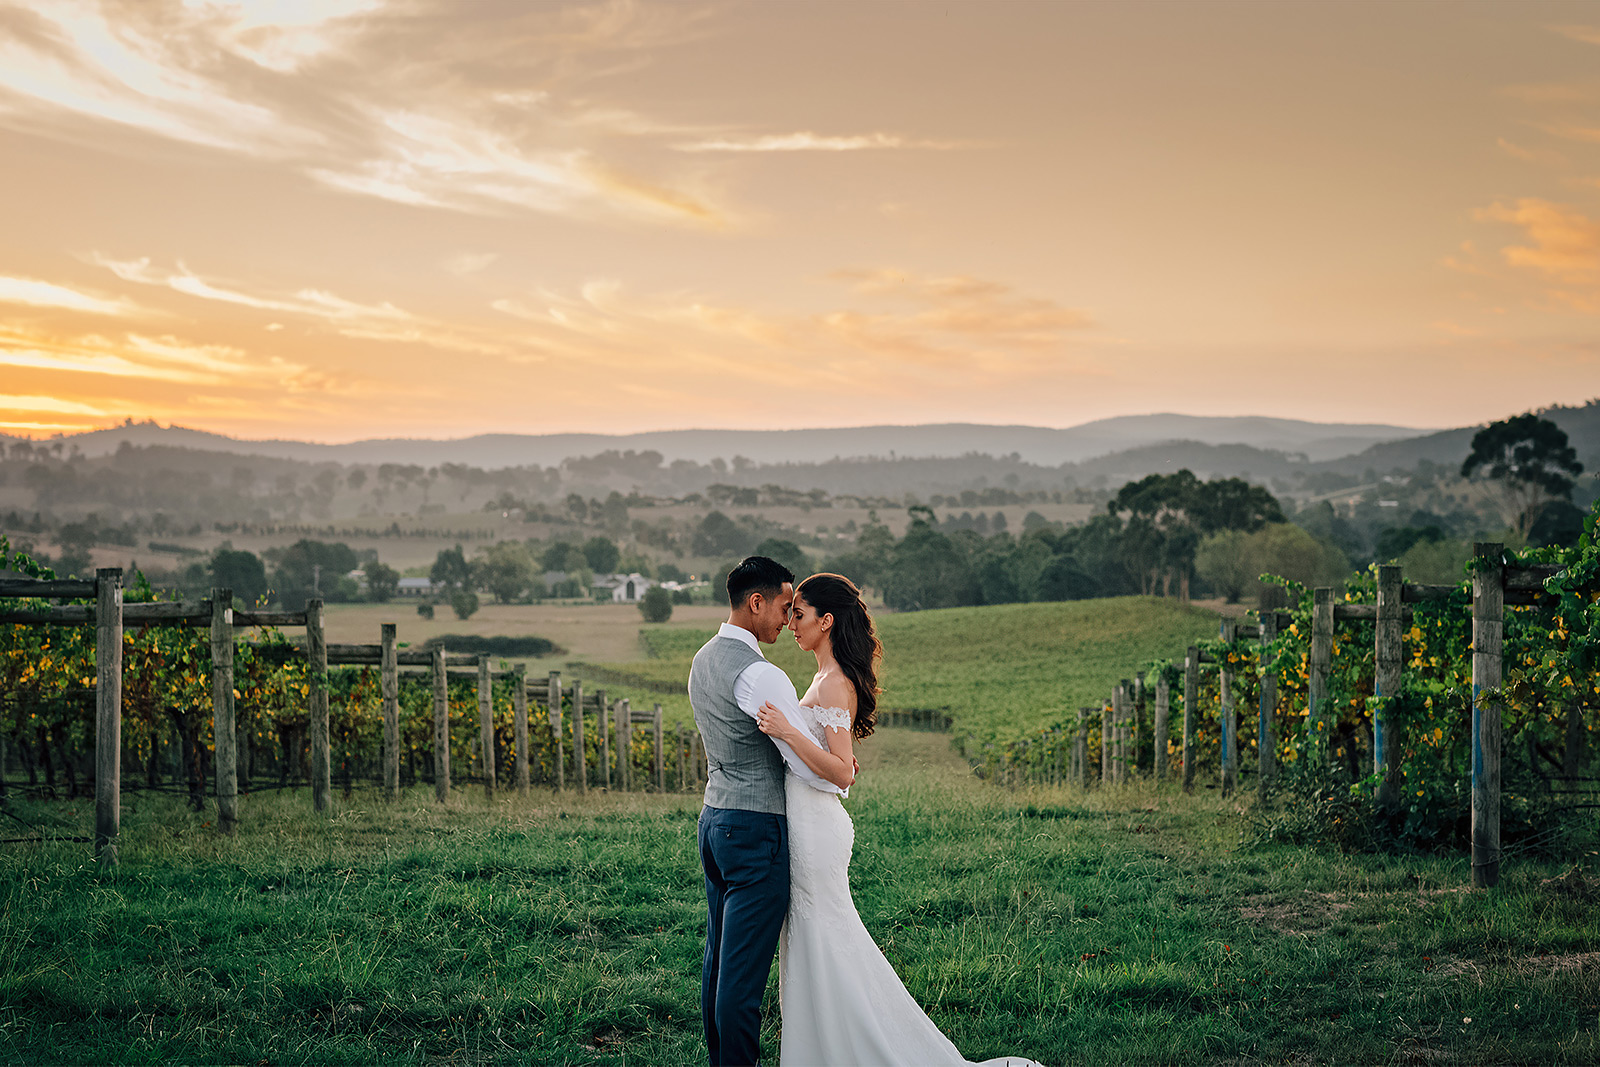
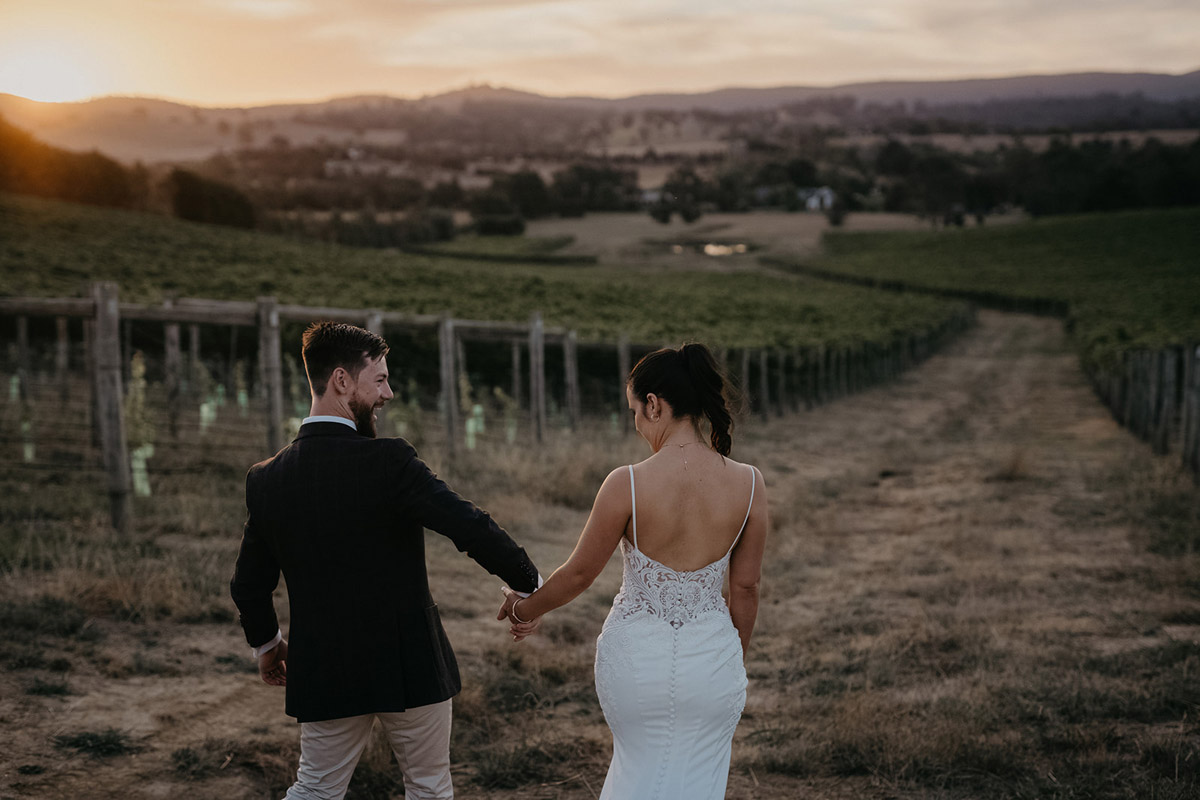
The golden hour is a magical time for evocative portraits of the couple. When the sun is low on the horizon, the light casts a soft and lovely glow on the subjects.
Flash On-Camera
A flash can add interest to a scene if the available light is dull. Use your flash to add more light to the couple while filling in the dark shadows. Always check the venue’s specific flash policies.
Reflectors
A reflector is a simple, portable tool for bouncing and directing light. If the sun is directly behind the couple, creating strong backlighting, you can bounce some of the light by placing a reflector in front of them. As a result, there is more exposure between the couple and the background.
12th Tip: Create a Post-Wedding Timeline
After the shoot, the work continues. In fact, the majority of the work begins after the shoot is completed!
Make a backup of all your images.
Losing photos is a photographer’s worst nightmare, whether due to inadvertently deleting files or a corrupted memory card. Make it a habit to immediately copy images to your computer and an external hard drive after the shoot. Yes, making two–or even three–copies is ideal, and doing so as soon as you get home from the wedding is ideal.
Quickly Remove Photos
The process of separating the good photos from the bad photos is referred to as culling. It’s not about deleting unwanted photos right away because you might need them later. The goal is to narrow down thousands of images into a few that you can edit and share with the couple.
The quickest way to accomplish this is to use Photo Mechanic, which was created specifically for image culling. You can now import your final selections into a Lightroom Catalog and start editing your photos.
Make Use of Presets to Simplify Editing
The editing process is, without a doubt, the most time-consuming aspect of the post-wedding workflow. Depending on how heavily you edit, editing each image one by one can easily take 1-2 minutes per image. To make this process easier, use presets to apply multiple settings to your photos at the same time.
Understand that applying presets will not magically improve your images. When you use a preset, the editing software applies a set of settings that you can tweak or adjust until you get the look or tones you want. Overall, presets can assist you in making your images look more cohesive and consistent.
Teasers for the following posts
Make it a goal to post sneak peeks on social media within 24 to 48 hours of a wedding. These are usually a few photos that show the client how their images will look. Teasers, on the other hand, provide them with something to look forwards to sharing with their family and friends.
The couple, family, and guests will still feel the excitement of the event, which will make them eager to see the photos. You will most likely gain new followers, likes, shares, and comments at this point.
On-Time Photo Delivery
If your contract specifies how long it will take for clients to receive their photos, make sure to meet that deadline. For some wedding photographers, this can take anywhere from a few weeks to three months. This is dependent on your workflow, but make sure the client understands how much time you spend on post-processing and delivery.
Create an online wedding gallery.
Part of your job as a photographer is to give your clients the best image-viewing experience possible. The benefit of creating an online gallery is that customers can have their photos delivered in a professional and high-quality manner. This also gives them the option of where to save and download their files.
The benefit of uploading images to a wedding gallery like ShootProof is that it allows couples (and their family and friends) to easily order prints or digital files. You can create and send email campaigns to encourage them to purchase photos during the holidays or on their one-year anniversary.
Provide Referral Bonuses
Some customers automatically provide feedback about a service provider. They will occasionally share a post on their social media accounts. You can’t, however, be certain that everyone will find the time and energy to do so.
Actual customers provide the most trustworthy feedback. Offering a referral incentive is one way to encourage a review. For example, if they leave a review within a week, you can give them a discount on their next booking. If they post a review with pictures, they might be able to get a print credit.


13th Tip: Be Honest
Forget what the magazines have to say. Forget the fanfare, pomp, and circumstance.
Brides and grooms, as well as their families, are just human beings with feelings. Treat them with respect, humour, and empathy throughout the wedding planning process.
Don’t pretend to be someone you’re not. And don’t try to persuade your clients to be someone they aren’t.
Clients will love you, refer you, and hire you again – not only because you take beautiful photos, but also because you are a wonderful person to work with.
Next, consider how you can make your photo booth stand out.
It can be difficult to come up with your own ideas, which is why we’ve compiled a list of the 30 best photo booth ideas for your next event or wedding. You can copy, modify, or use them as inspiration for your own ideas.


