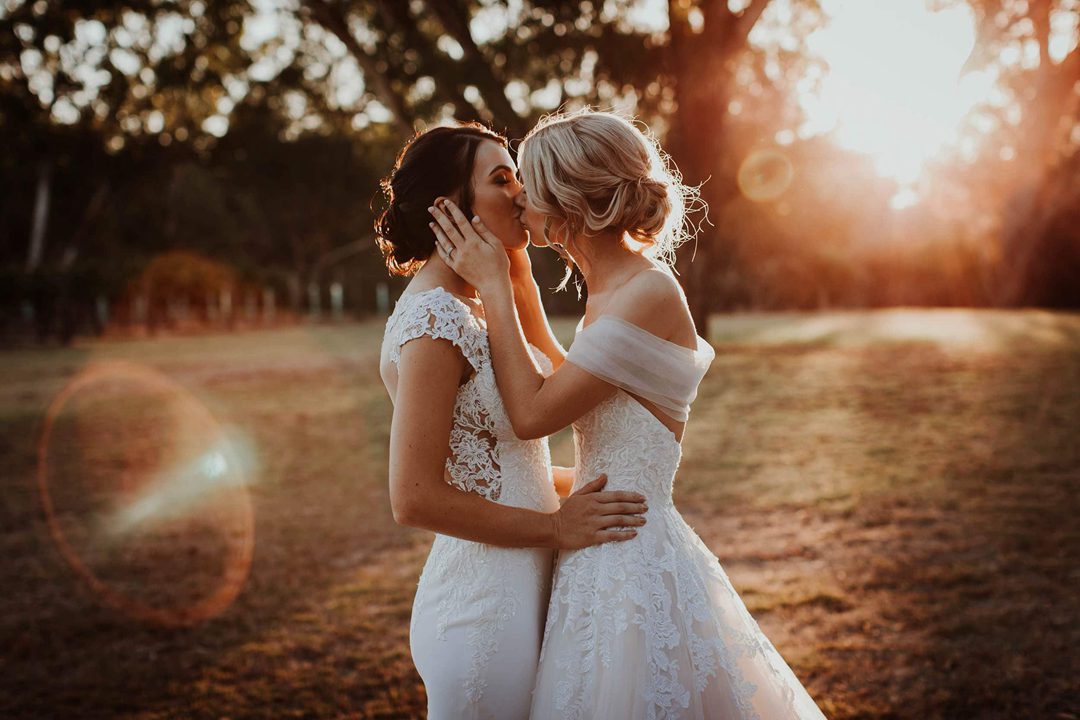
13 OF THE BEST NEW WEDDING PHOTOGRAPHER TIPS (Part 2)
Tip #6: Do some research on your potential locations.
The location of the ceremony and reception should be specified in your contract. Use this information to learn about the photography policies and lighting conditions at these locations. If the venues are too far away for a pre-wedding visit, do an in-person walkthrough or preview the locations online.
Make a map of the locations you want to visit and keep track of the time it takes to get from one to the other.
If you need to cover multiple weddings in different locations, mapping out venues and allotting travel time can help a lot. When travelling from one location to another, keep traffic and unexpected delays in mind.
Check the estimated travel time from the venue for preparation, to church, and to the reception venue using a GPS or Google Maps. When you’ve been hired to photograph a wedding, the last thing you want to do is arrive late because you underestimated the travel time!
Worship Locations
Inquire about the photography policies of the venues! Worship places, in particular, frequently have strict rules about when – and from where – you can photograph.
Any restrictions should be communicated to your clients well in advance of the wedding day. Setting your clients’ expectations, for example, if their church does not allow photography during the wedding ceremony, will prevent disappointment later.
Do not be afraid to ask venue directors if they will bend the rules for you (it never hurts to ask! ), but always respect their final policy, even if it appears ridiculous to you. Your reputation will live or die based on the word of industry vendors with whom you collaborate.
Ceilings (inside, outside, and green)
Even the most beautiful venues can present unexpected challenges, especially after the sun has set or if there are no windows!
How are you going to handle the ballroom with the green-painted ceiling? When the sun goes down, how will you photograph the beach’s dance floor? Do you know where the sun will be at the time of the lakeside ceremony? What is the couple’s rain strategy – and are you ready for it?
Anticipate location issues ahead of time, and you won’t be panicking on your wedding day.

Pre-wedding photos
Tip #7: Work with other vendors.
Other wedding vendors will be your most valuable partners at the event. They can either make your job easier or more difficult, so it’s critical that you treat them with respect throughout the event. You can continue to build a relationship with them after the event for future weddings!
Develop positive relationships with vendors such as:
Videographers
Makeup artists and hairstylists
Florists
Bakers
Officiants
Coordinators of the venue
Wedding organisers
DJs, caterers, and bands
Business Cards Should Be Exchanged
It’s always a good idea to give other wedding vendors your contact information. Of course, you should be polite and ask for their business cards as well. Create an eye-catching yet professional business card that people will not throw away.
Incorporate the Beautiful Work of Vendors
Wedding photographers will most likely photograph the details that make up the entire wedding. Remember that your clients paid for the creativity of other vendors as well, and they would like to have a visual reminder of it.
Photograph the catering team as they serve food, hair and makeup artists as they style the wedding party, or the band as they perform during the first dance. Other vendors will appreciate you capturing candid shots of them in action. Aside from that, when your clients see these images, they will be flooded with emotions and memories.
Share vendor photos and use the hashtag #vendorphotos on social media.
When you post the clients’ images on social media, make sure to tag them as well as the vendors. Vendors may share your actual post in some cases, which can increase page engagement and views. In some cases, they will request permission to upload photos to their websites and will include a backlink to you. In either case, it may lead to new client inquiries and partnerships.
“Understand your photographer so you’ll get most out of him”
One2One Photography

An Engagement photo
Hire an Assistant (Tip #8)
No, there isn’t a second shooter (though you may have one of those, too). Hire a personal assistant.
Your photo assistant may be able to:
Carry and/or protect your equipment.
If you’re using lights or tripods, assist in setting them up.
Trains should be smoothed, hair should be fluffed, and boutonnieres should be re-pinned.
Bring you some water so you don’t pass out.
When you’re in the midst of a hectic wedding, having a second pair of hands can feel life-saving.
Etiquette for Assistants
When posting an assisting job, make it clear when, where, how long, and how much you are willing to pay.
Make it clear that you are looking for an assistant rather than a second shooter.
Nothing should be left to chance! Inform your assistant about what you expect them to wear. What, no jeans? Is it all black? What’s with the suit and tie? Be as specific as possible. During their time with you, your assistant represents your brand.
Prepare Your Emergency Kit (Tip #9)
An emergency kit can help you streamline the photography process and provide a better experience for your clients!
Most minor crises can be handled with bobby pins, a stain stick, a small sewing kit, and baby wipes.
Rain ponchos, first aid kits, bug spray, crochet needles (for dress buttons), makeup basics, spare bow ties, lighters, a list of emergency phone numbers (backup vendors and photographers), and other items may be included in larger emergency kits. The only limit is your imagination!
Don’t overpack, but bring only what will make you feel prepared and comfortable. Your assistant can assist you in managing this extra bag!


